 Rowing Machine Nerd
Power and Force Curves on the Rowing Machine: What They Mean
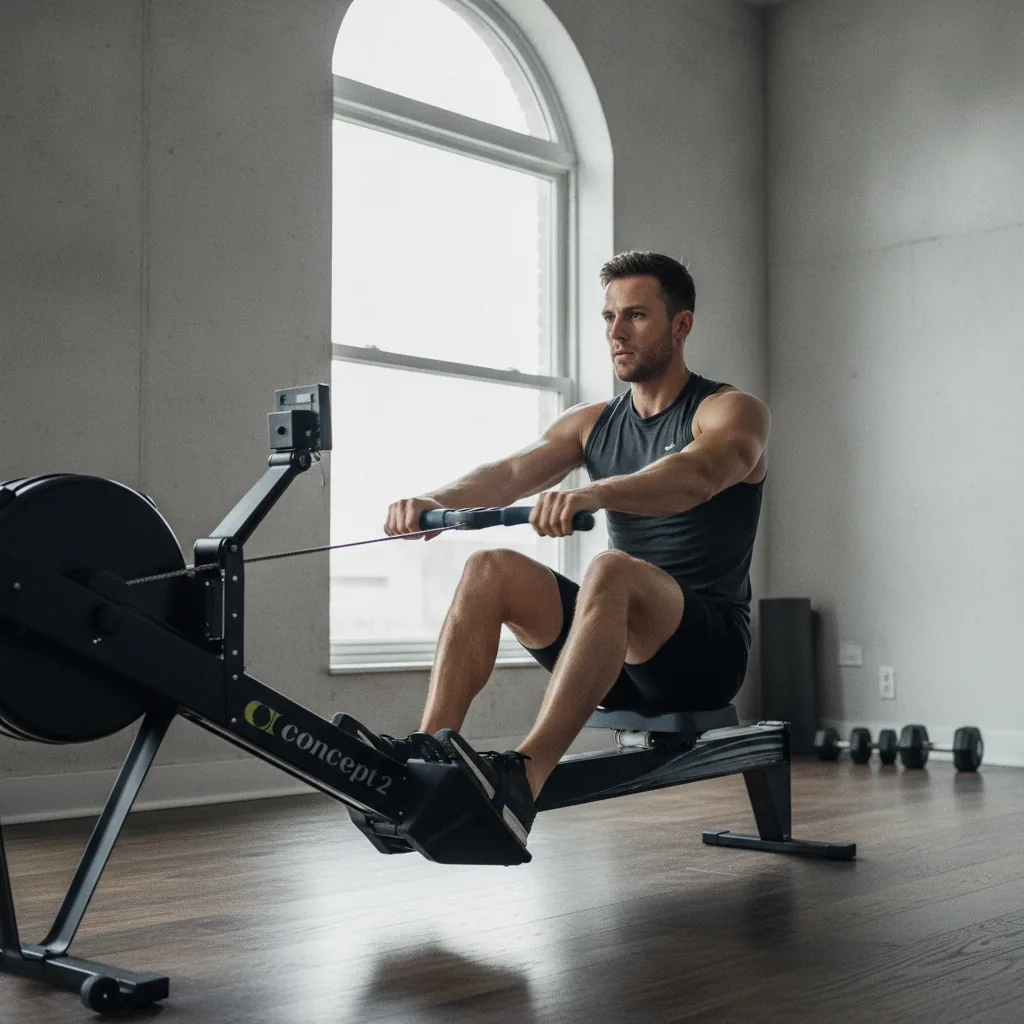
The first time most people see the force curve on a Concept2 monitor, the reaction is the same: "what's that squiggly line supposed to mean?" Once you understand it, though, the force curve becomes one of the most useful feedback tools on the rower - it takes the guesswork out of technique by showing you, in real time, exactly how you're applying power through each stroke.
A clean, bell-shaped curve means your legs, core, and arms are firing in the right sequence - legs, then back, then arms.[1] A jagged or lopsided curve tells a different story, and usually explains why a stroke feels inefficient or tiring.
What the force curve shows
On a PM5 it's under the "Force Curve" display - a line that rises and falls as you pull, tracing the stroke from catch to finish:
- Catch: you push off with the legs; the curve should rise smoothly.
- Drive: legs, core, and arms work together - the curve reaches its peak.
- Finish: the arms draw the handle in; the curve tapers off rather than dropping sharply.
- Recovery: no force applied - the curve returns to baseline before the next stroke.
Force curve shapes and what they mean
The shape of your curve tells a story about how power is applied. Here are the patterns you'll see most often:
Smooth bell
IdealRises steadily to a rounded peak, then falls smoothly. Legs, core, and arms are working in the right sequence with power spread evenly across the drive.
Fix: This is the target - strong but controlled, no wasted effort.
Early peak
FaultSharp rise, peak too soon, then a fast drop. Too much force at the catch - usually slamming the legs without the core and arms following through.
Fix: Smoother leg push; let the body and arms join later in the drive.
Late peak
FaultSlow rise, peak comes late, sharp drop at the finish. Leg drive is weak or delayed, with too much reliance on the arms at the end.
Fix: Engage the legs earlier - start the drive with a strong push from the feet.
Jagged
FaultA wobbly, inconsistent line instead of a clean curve. Stroke timing varies from rep to rep, often from rushing or pulling unevenly.
Fix: Slow the recovery, find a rhythm, make each stroke repeatable and identical.
Flat / shallow
Low powerA low, flattened curve with no clear peak. Not enough power applied in any phase - common in very light, cautious rowing.
Fix: Push harder with the legs, but keep the curve smooth and balanced.
Force curve vs. power curve
Where the force curve shows the shape of your stroke (when you apply force), the power curve shows how much work you're actually producing. A higher curve means more total power; a longer, smoother curve means force is sustained across the drive; a jagged one means power is applied unevenly. It's the better gauge of stroke efficiency - two rowers at the same stroke rate can produce very different power curves, and the smoother one covers more distance per stroke.
Using the curve to fix your stroke
Watch the curve for a few minutes, then apply corrections - don't obsess over every single stroke. The drive sequence to aim for is always the same:
- Legs initiate the drive.
- Core swings back to transfer the force.
- Arms finish by drawing the handle in.
Three drills that smooth the curve:
- Pick drill: arms-only, then add the body swing, then the legs - reinforces the correct sequence.
- Pause drill: pause briefly at the finish before each recovery to improve timing and control.
- Low-rate steady (18-20 spm): focus on power per stroke and a clean, rounded curve every time.
The limitations
The curve is excellent feedback, but it isn't the whole picture. It's only available on certain monitors (standard on the Concept2 PM5; absent on many budget magnetic rowers), it can't see your posture or breathing, and staring at it stroke-by-stroke can pull your focus from how the row actually feels. Use it as occasional feedback once you understand the basic stroke. For the rest of the numbers on your screen, see how to read your monitor, and put a smooth, powerful stroke to work in our interval workouts.
References

Jordan Lockwood (BSc, CPT)
Certified personal trainer (CPT), sports-science graduate, and lifelong rower. Jordan writes and reviews every guide on Rowing Machine Nerd.